Organization & Compliance
Configure your workspace, set labor rules, and manage your workforce.
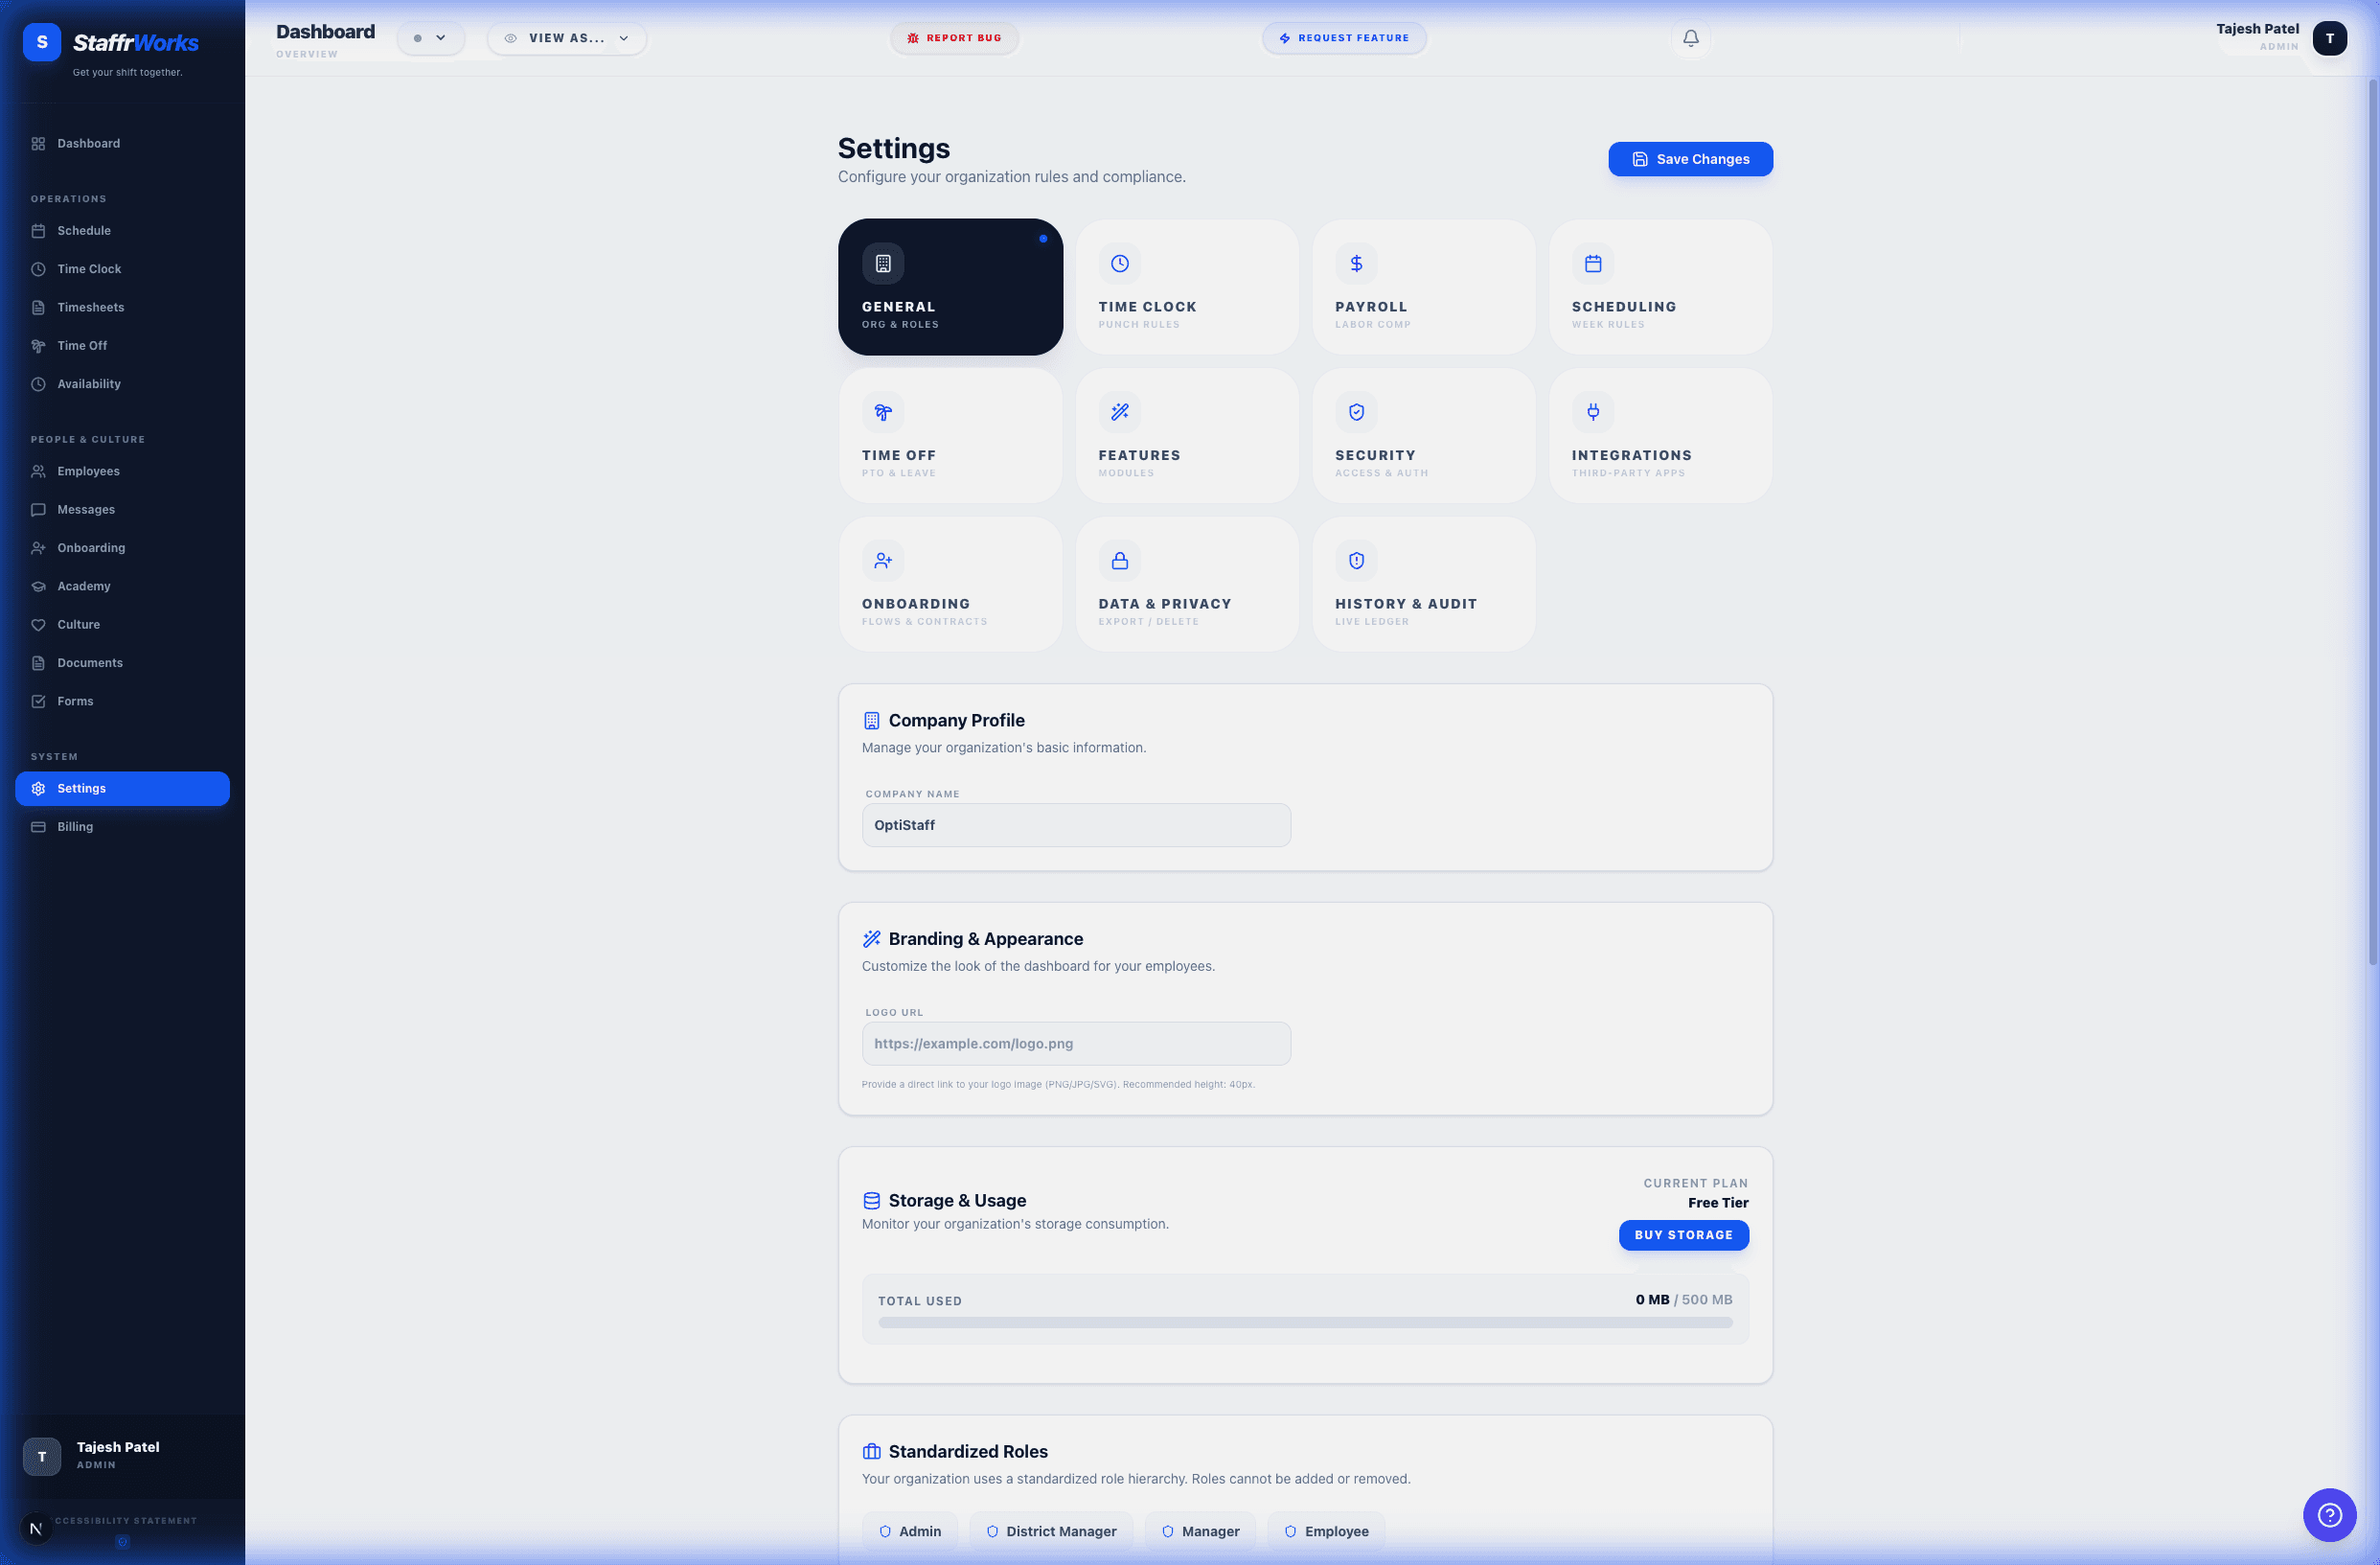
1. General Organization Settings
Navigate to Settings to configure your company profile. This includes your Company Name, Domain, and Time Zone. The "Organization ID" shown here is used for API integrations.
2. Managing Features & Modules
Under the Features tab, you can toggle modules on or off depending on your subscription plan (Starter vs Pro).
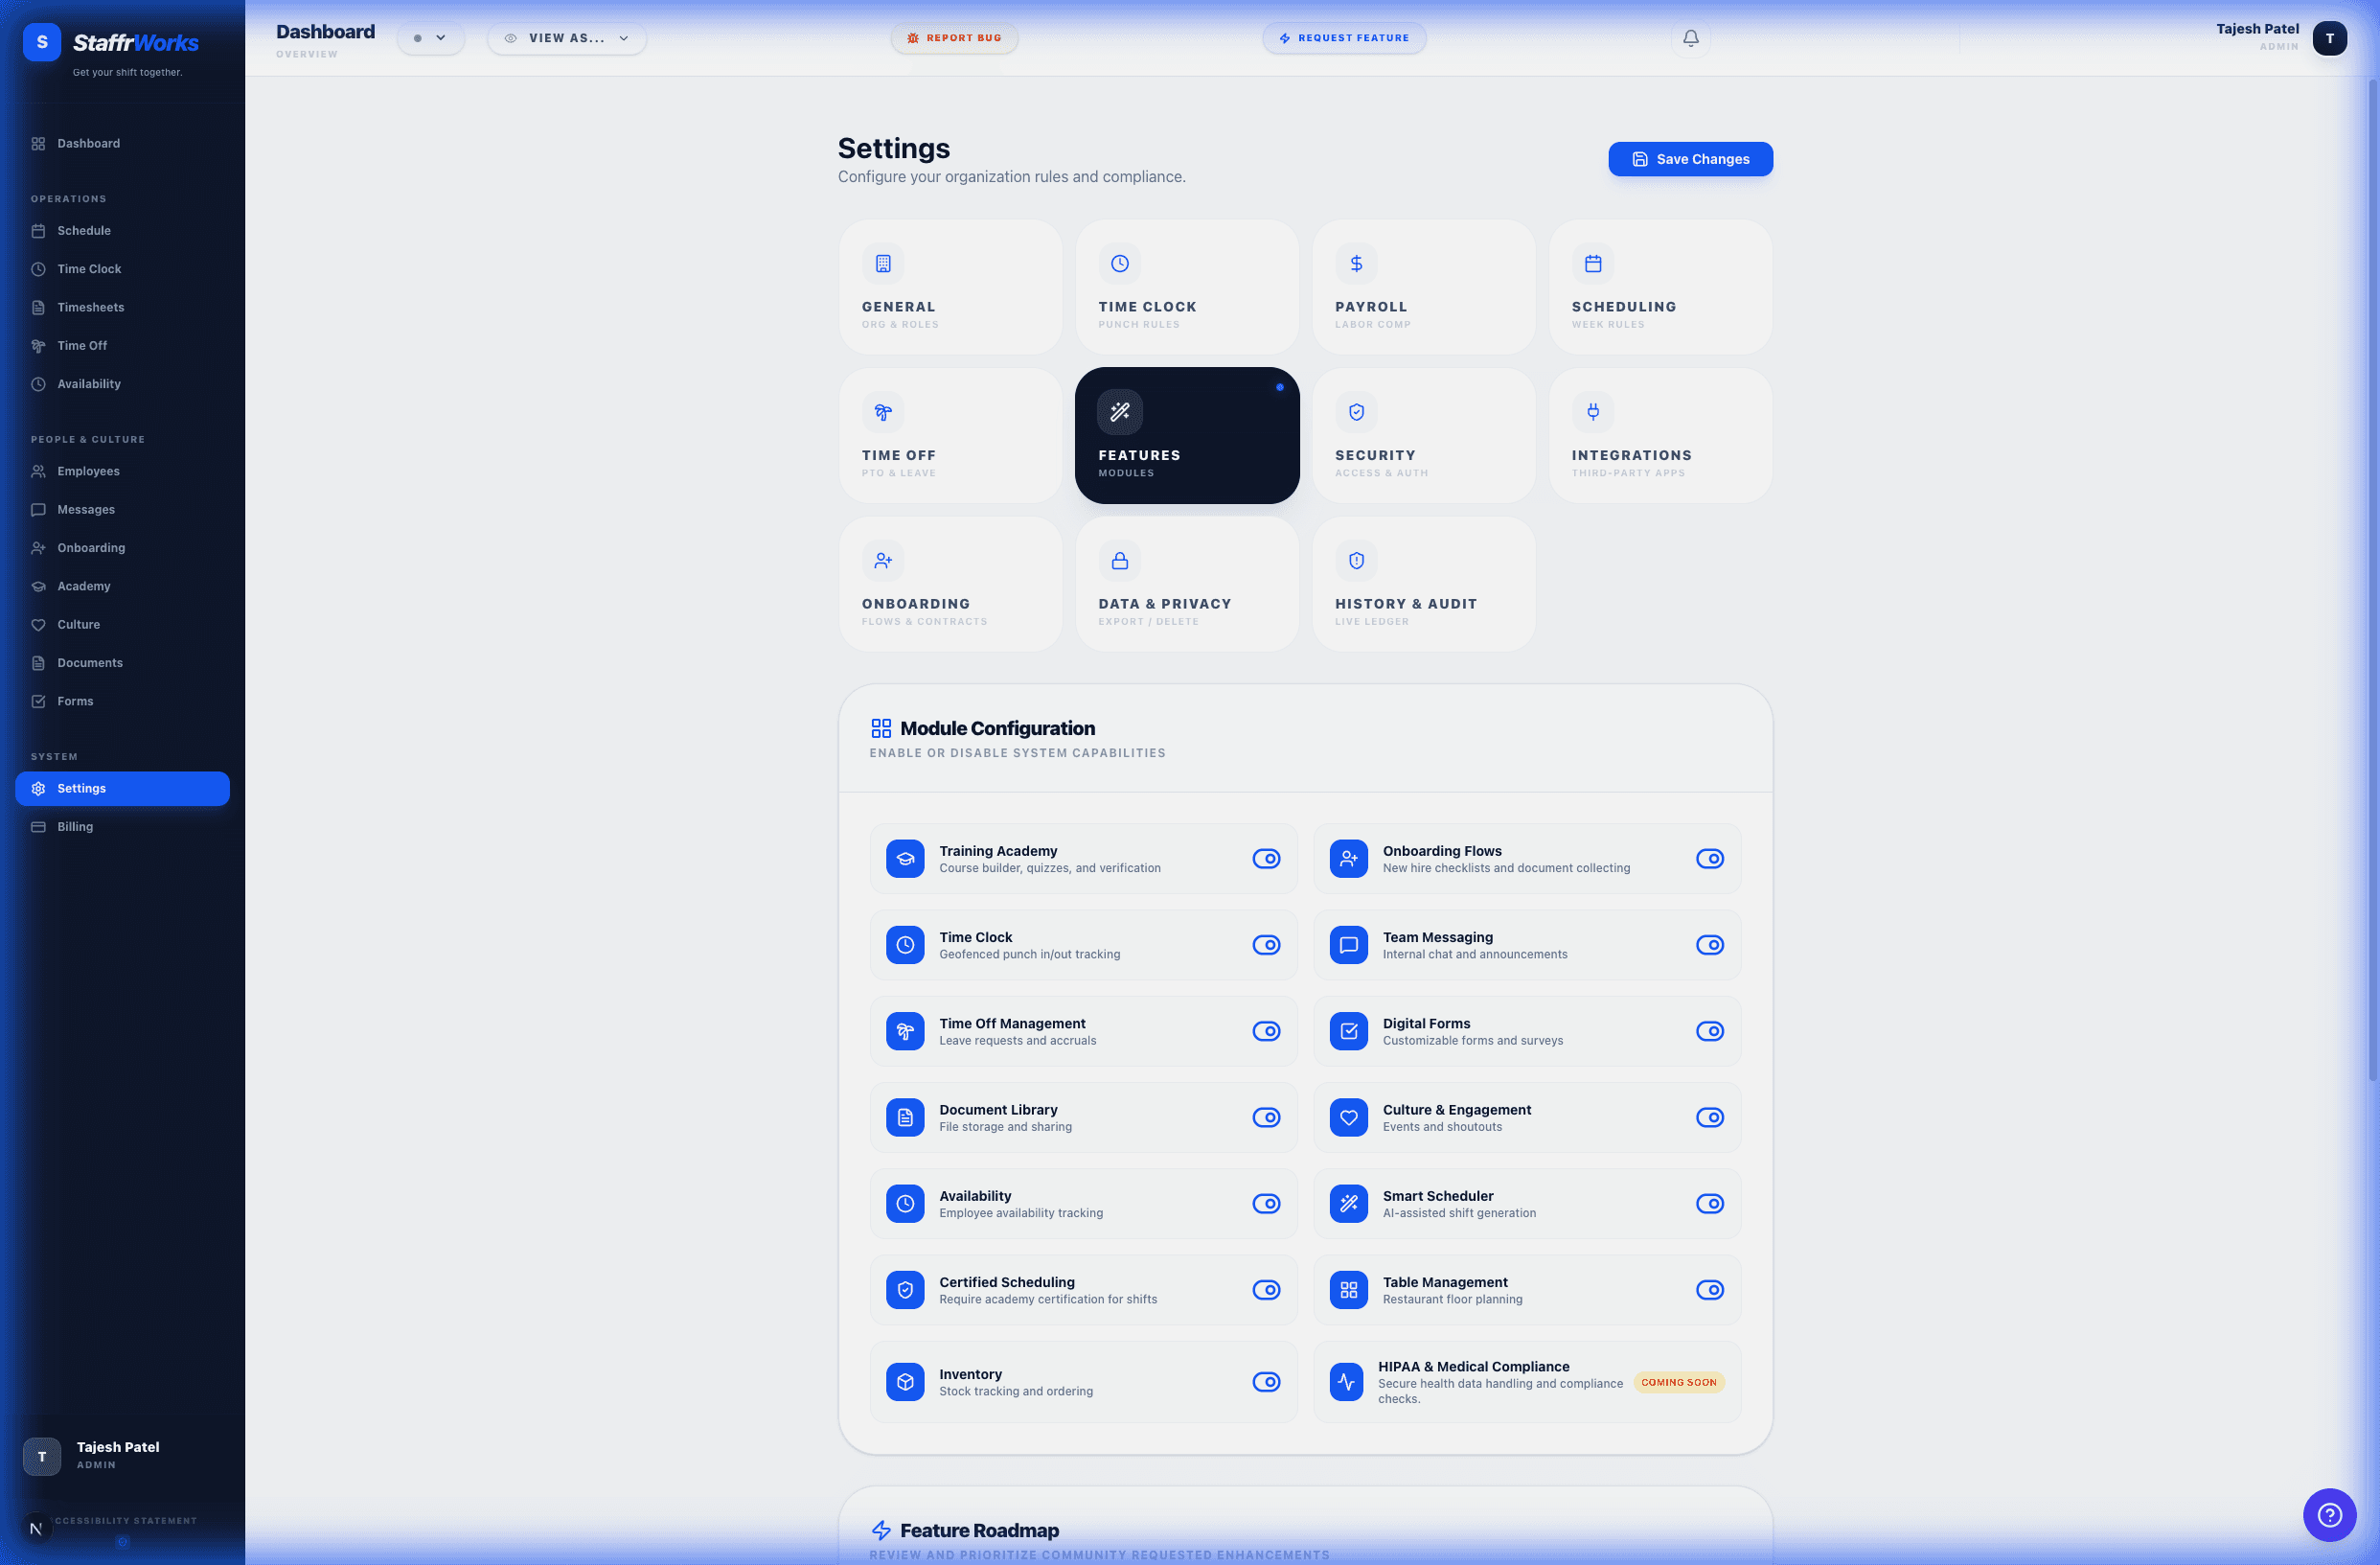
- Time Clock: Enables the GPS/Selfie clock-in system for employees.
- Payroll: Activates the "Payroll" tab for exporting timesheet data.
- Academy: Turns on the Learning Management System (LMS) for training.
- Newsfeed: Enables the social "Shout-out" and announcement feed.
3. Labor Compliance Rules
The Compliance (or "Scheduling Rules") tab allows you to automate labor law adherence. These settings prevent managers from publishing illegal schedules.
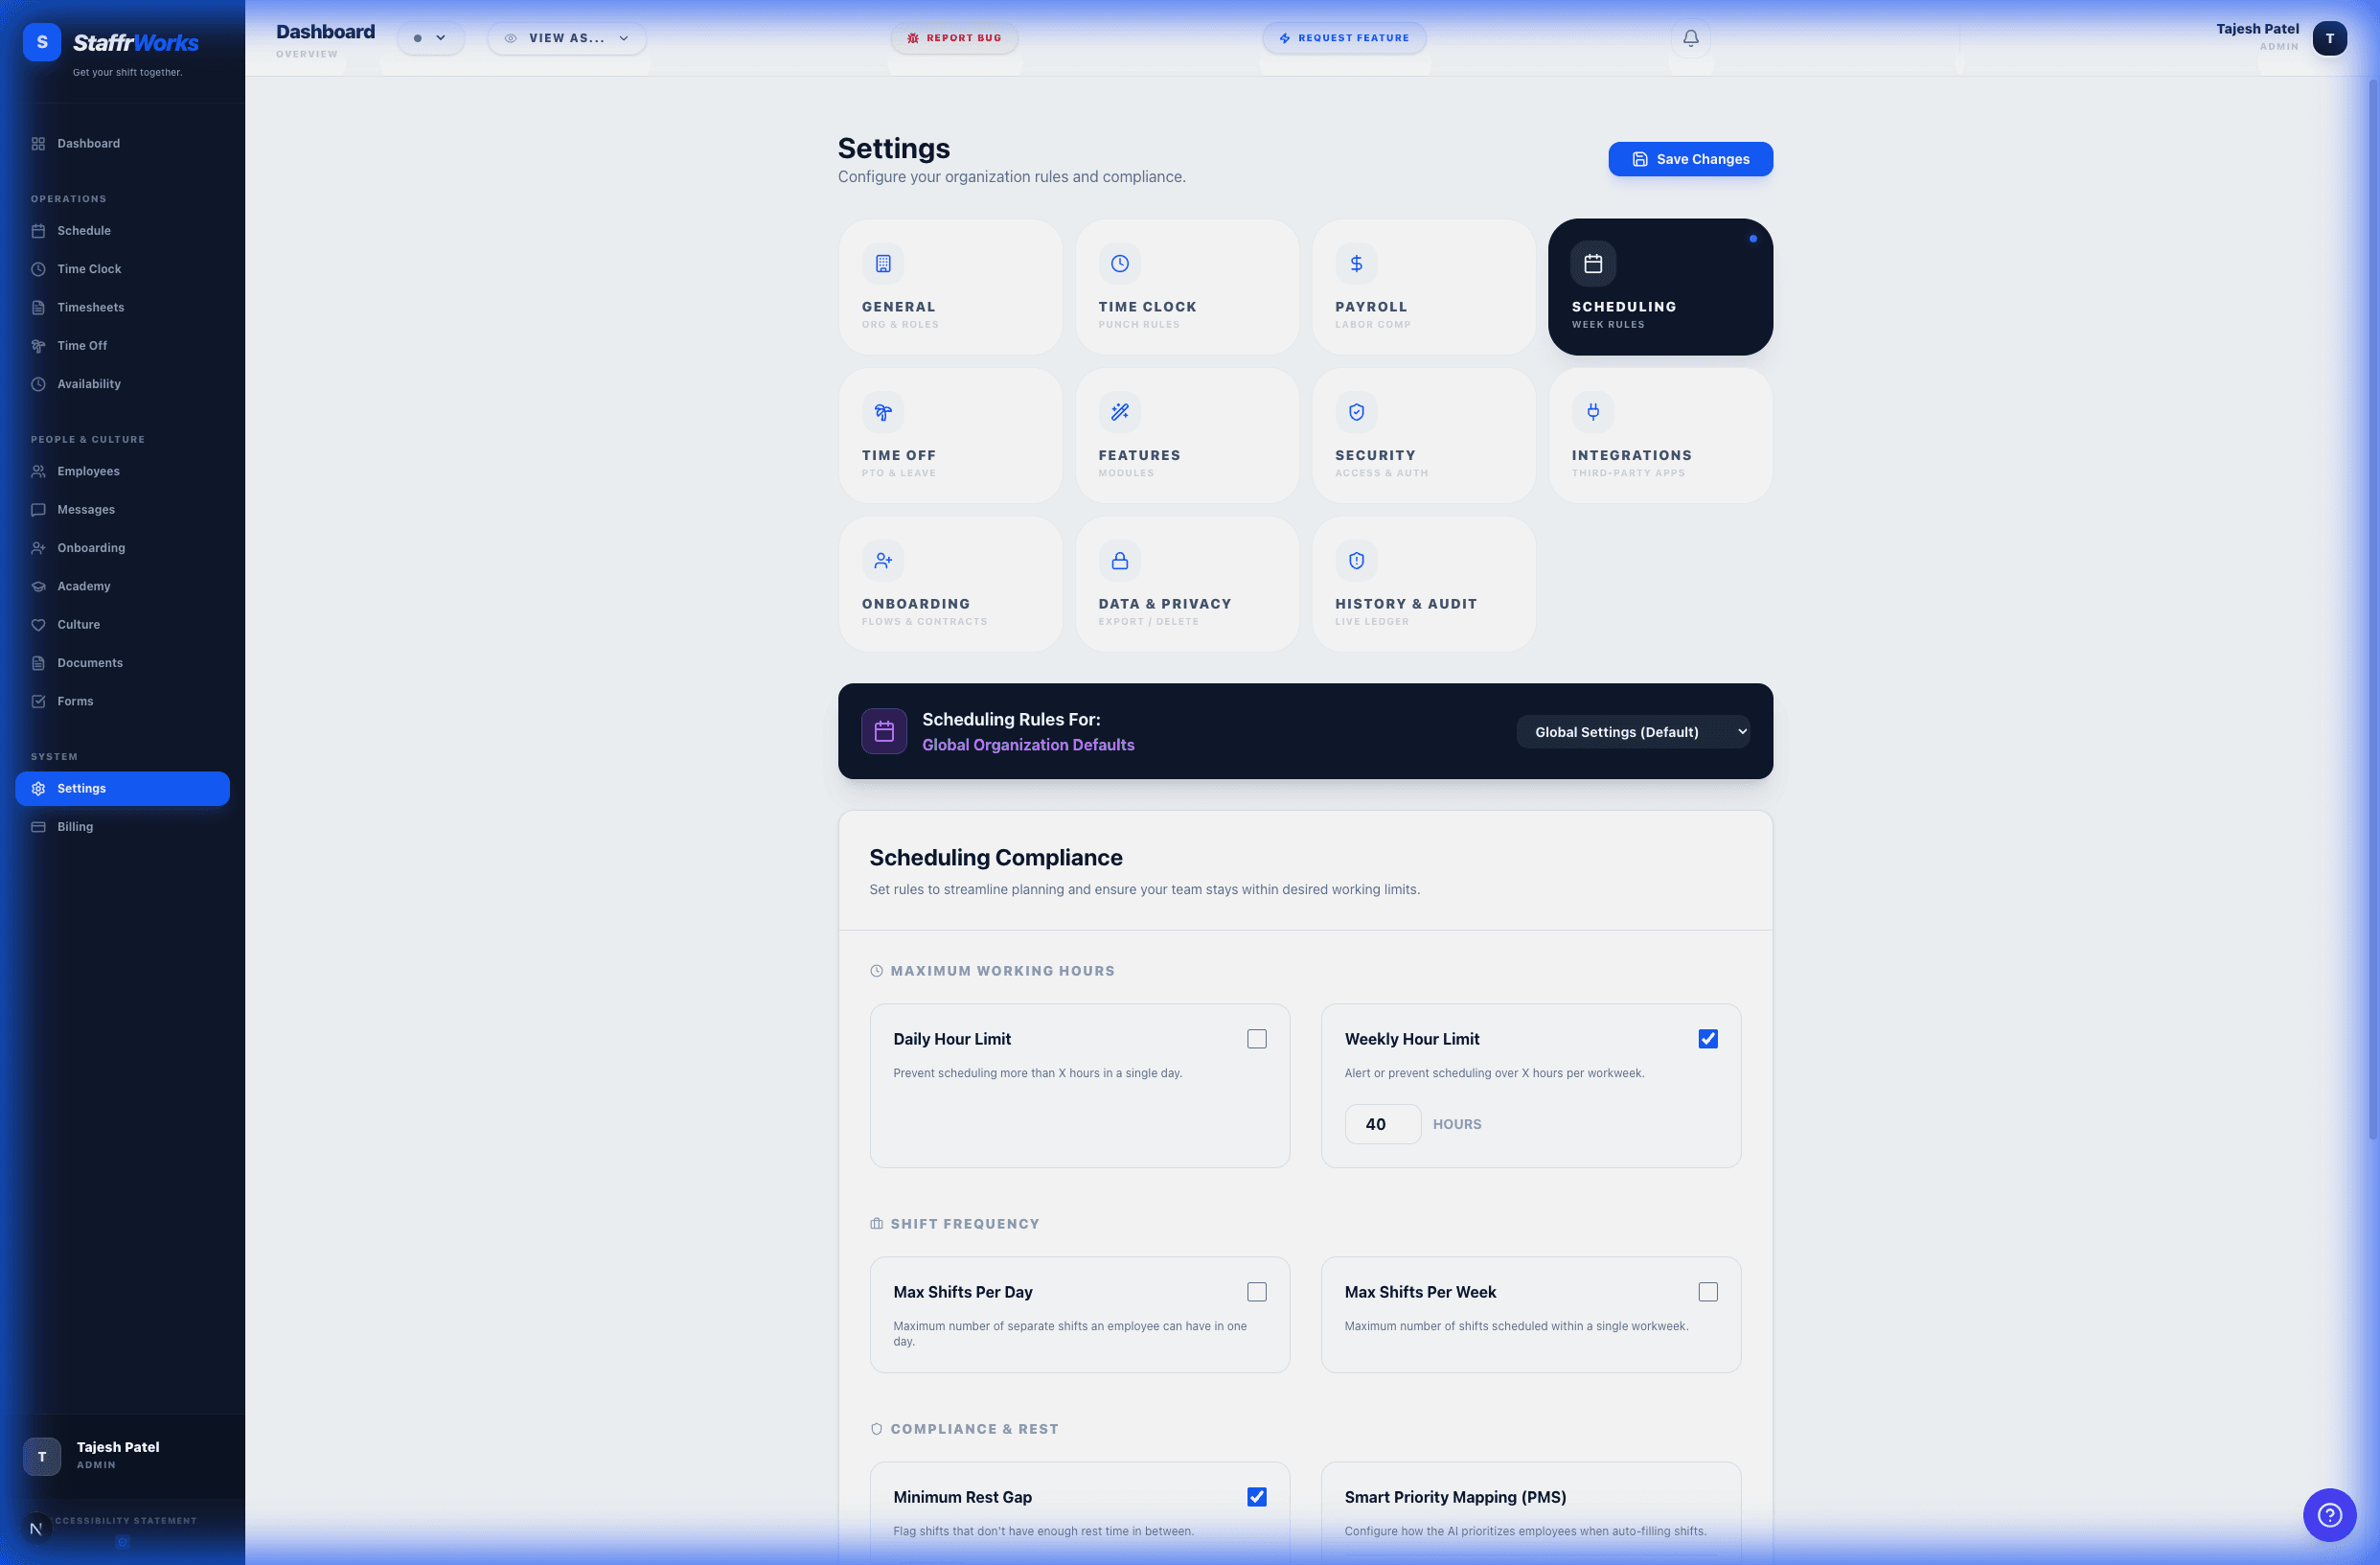
- Overtime Threshold: Define when overtime pay kicks in (e.g., after 40 hours/week).
- Max Daily Hours: Cap the number of hours an employee can work in a single day (e.g., 12h).
- Meal Breaks: Mandate unpaid breaks (e.g., 30 mins) after a certain duration (e.g., 6h).
- Rest Breaks: Configure paid 10-15 minute rest periods.
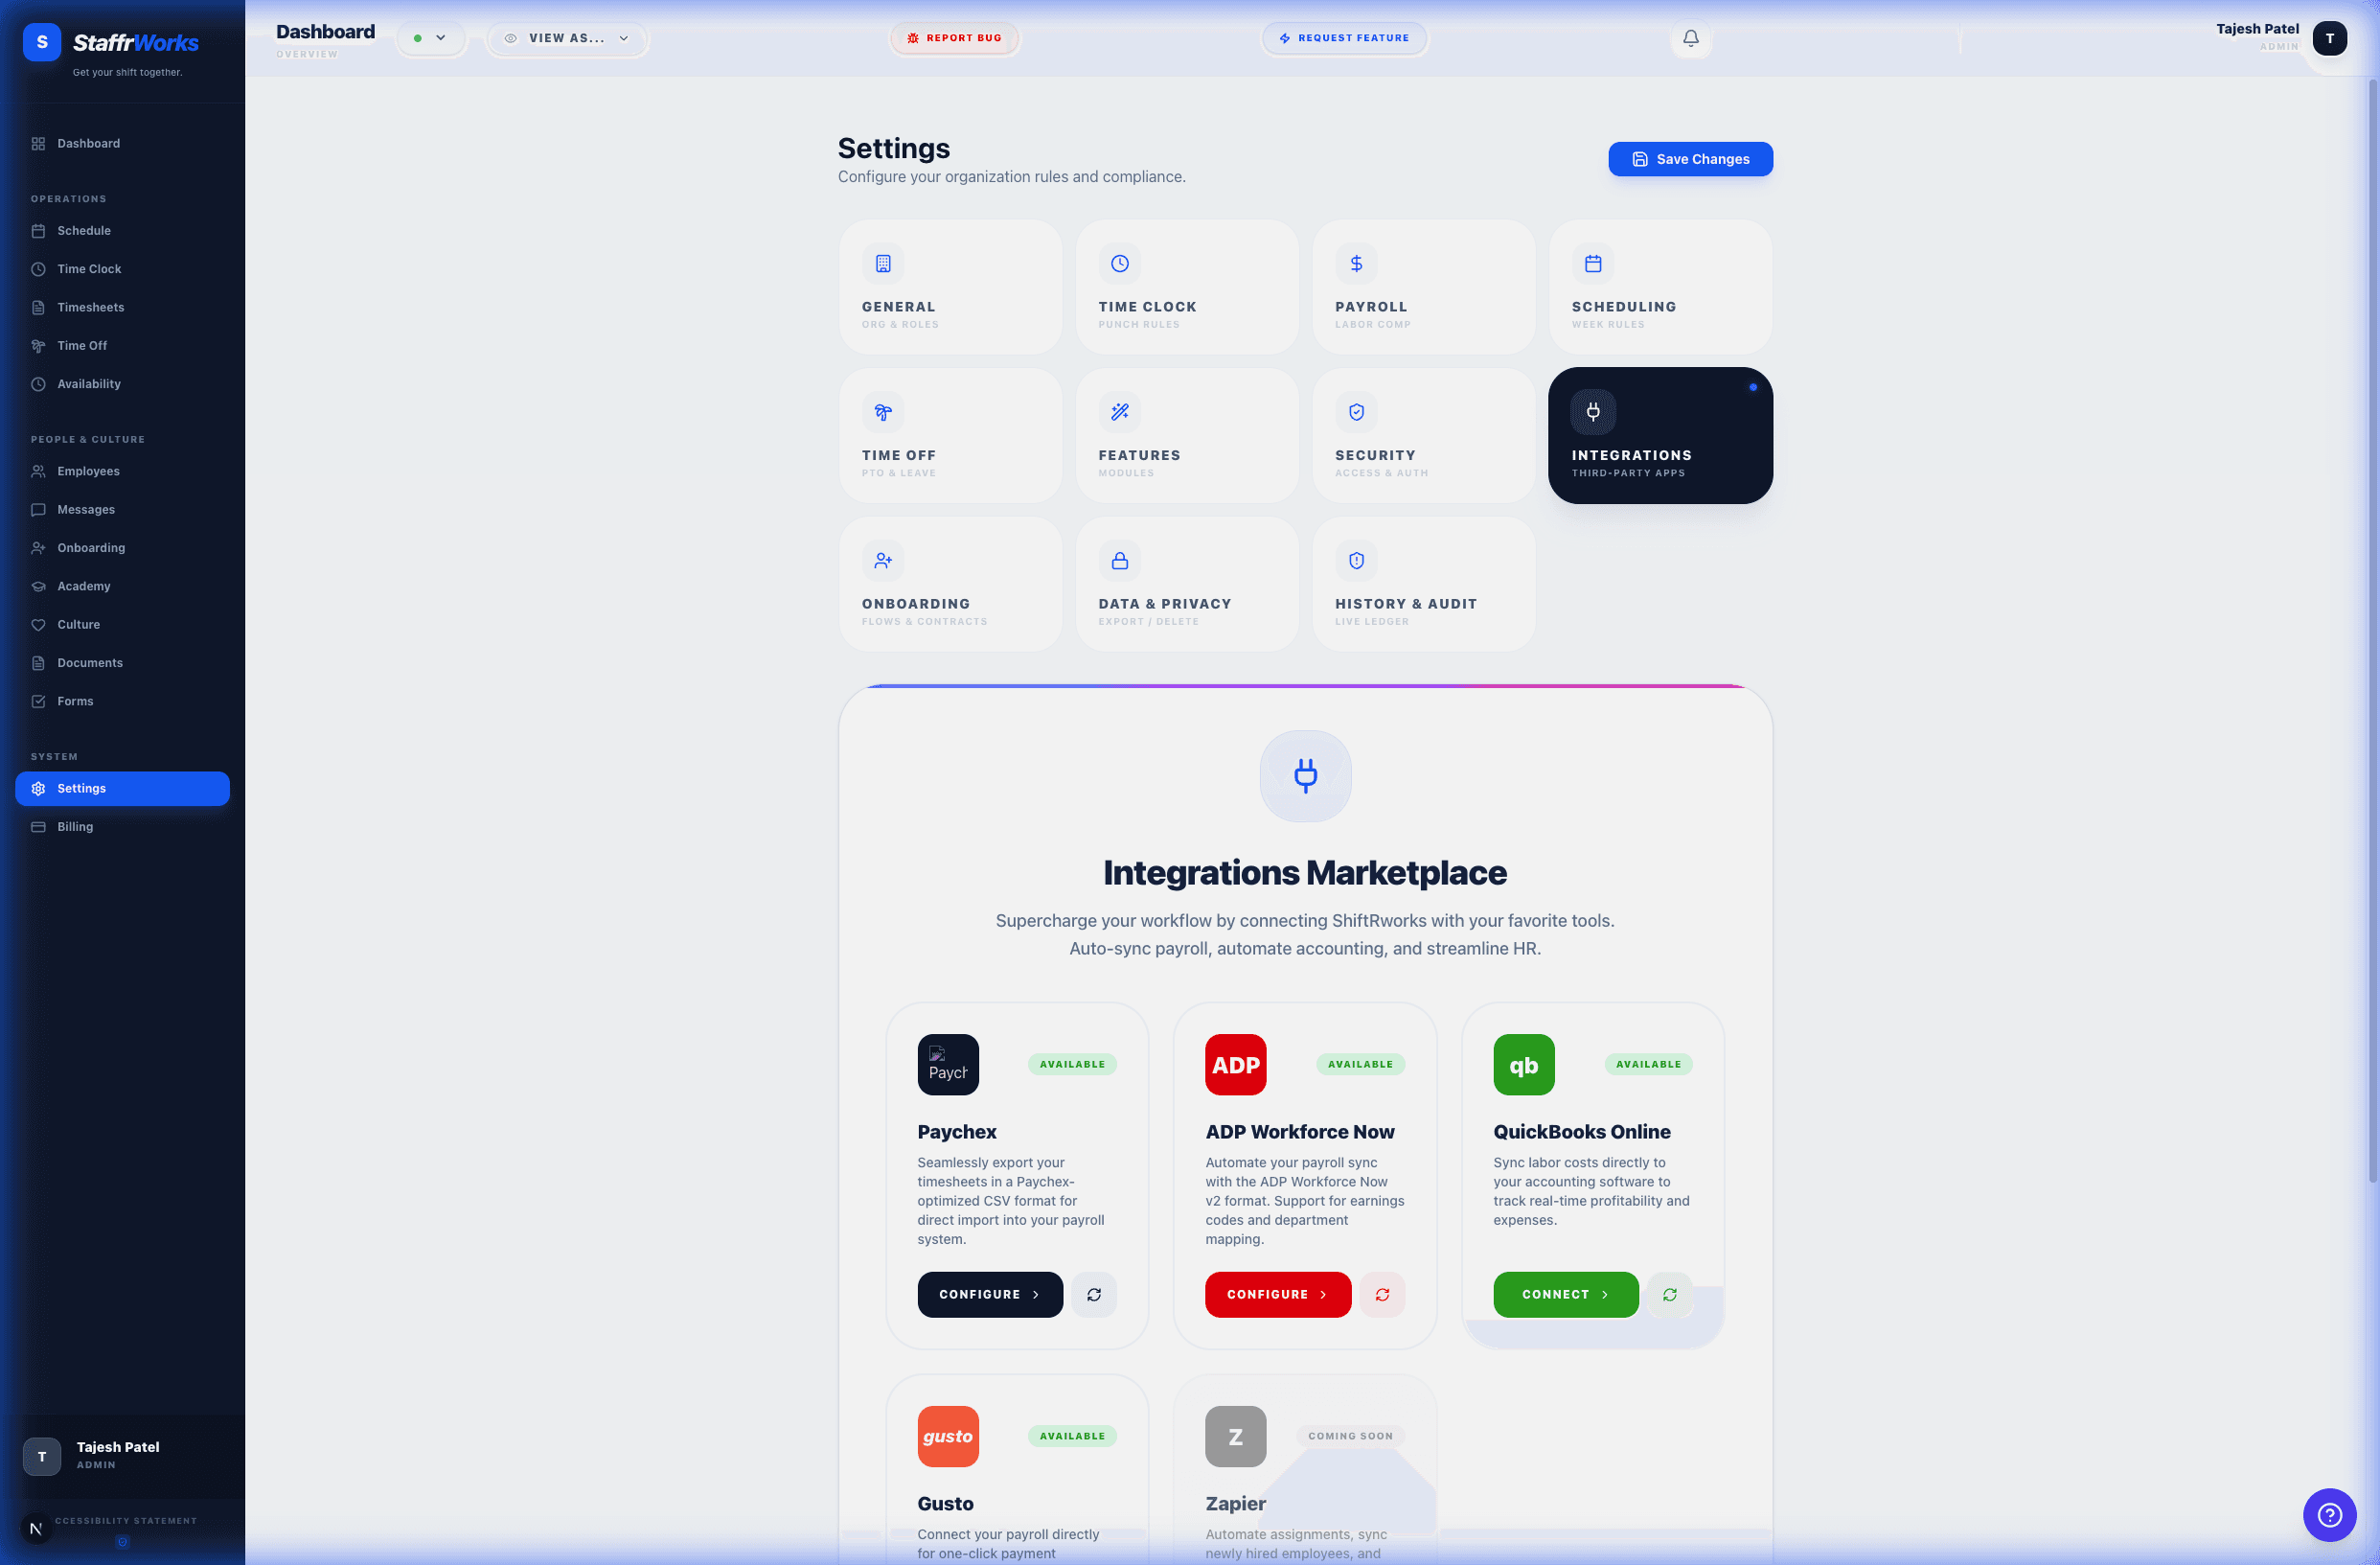
4. Payroll Integrations
Sync your employee roster and export hours directly to your provider. We support Gusto and QuickBooks Online.
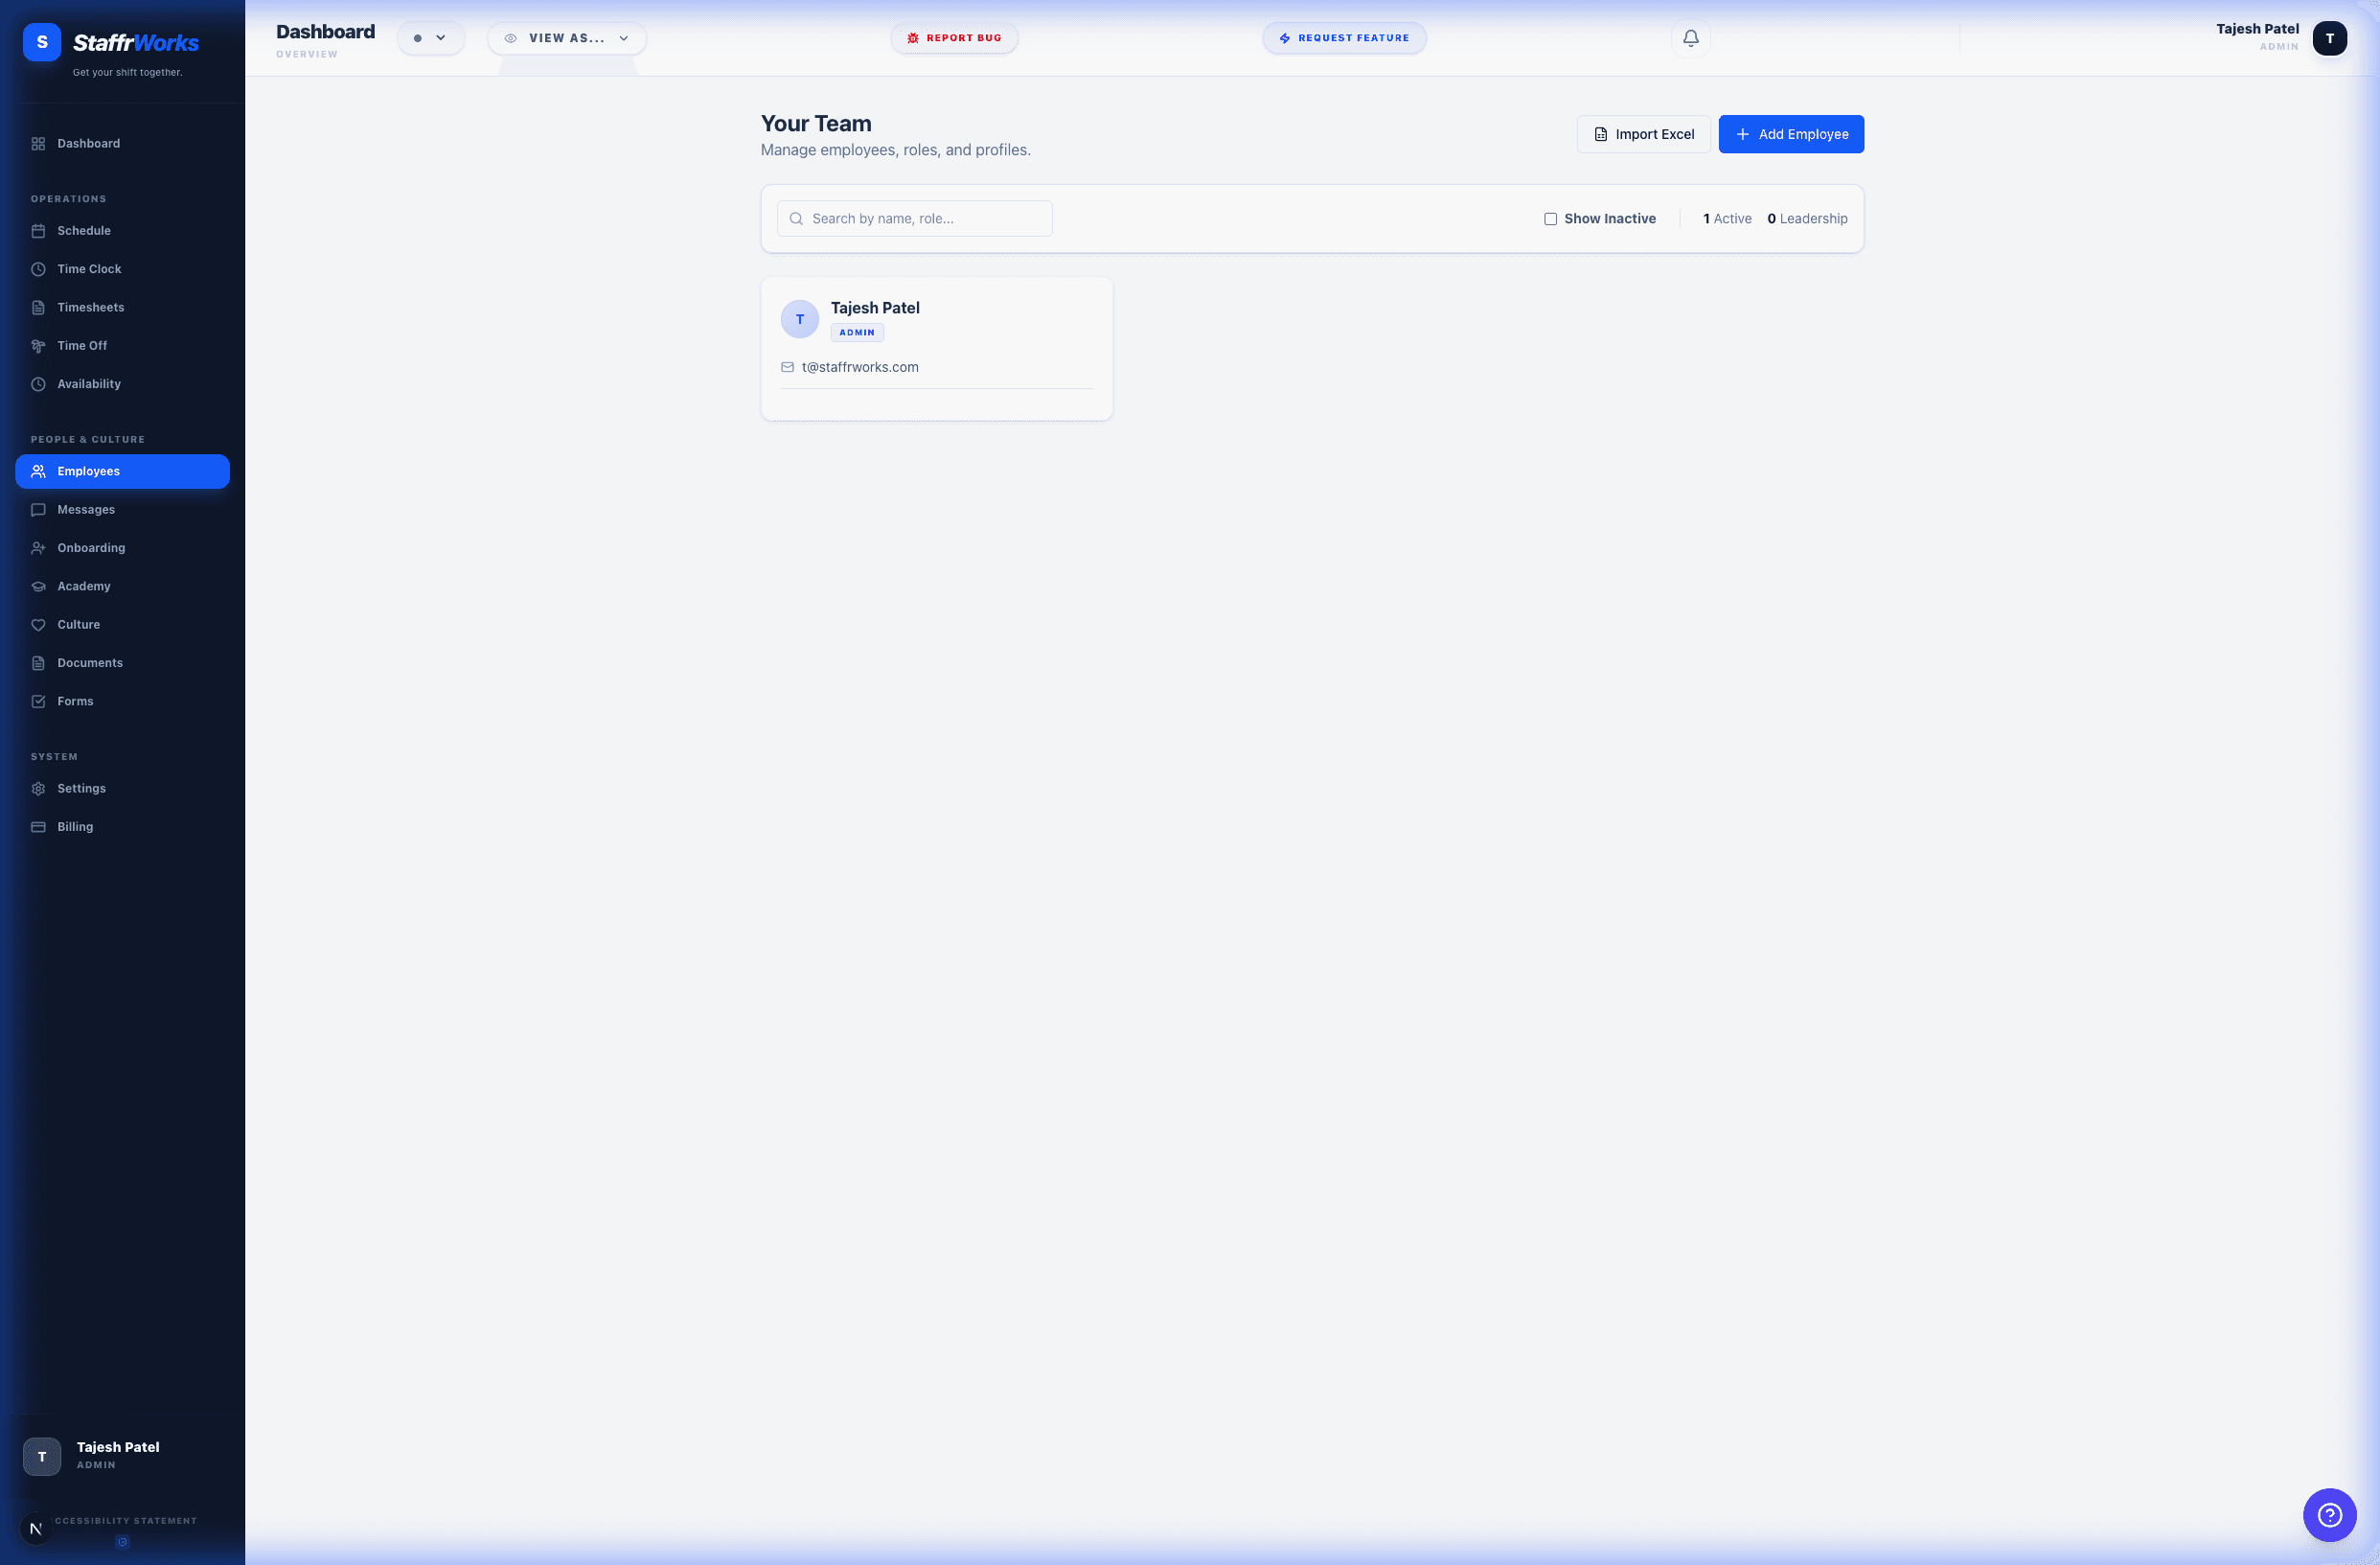
5. Employee Database
Assign a role: "Employee" (standard access) or "Manager" (can manage schedules). The Employees page is your central directory. You can filter by role, status (Active/Inactive), or location.
Adding a New Employee
Click "Add Employee" to open the onboarding modal. You must provide:
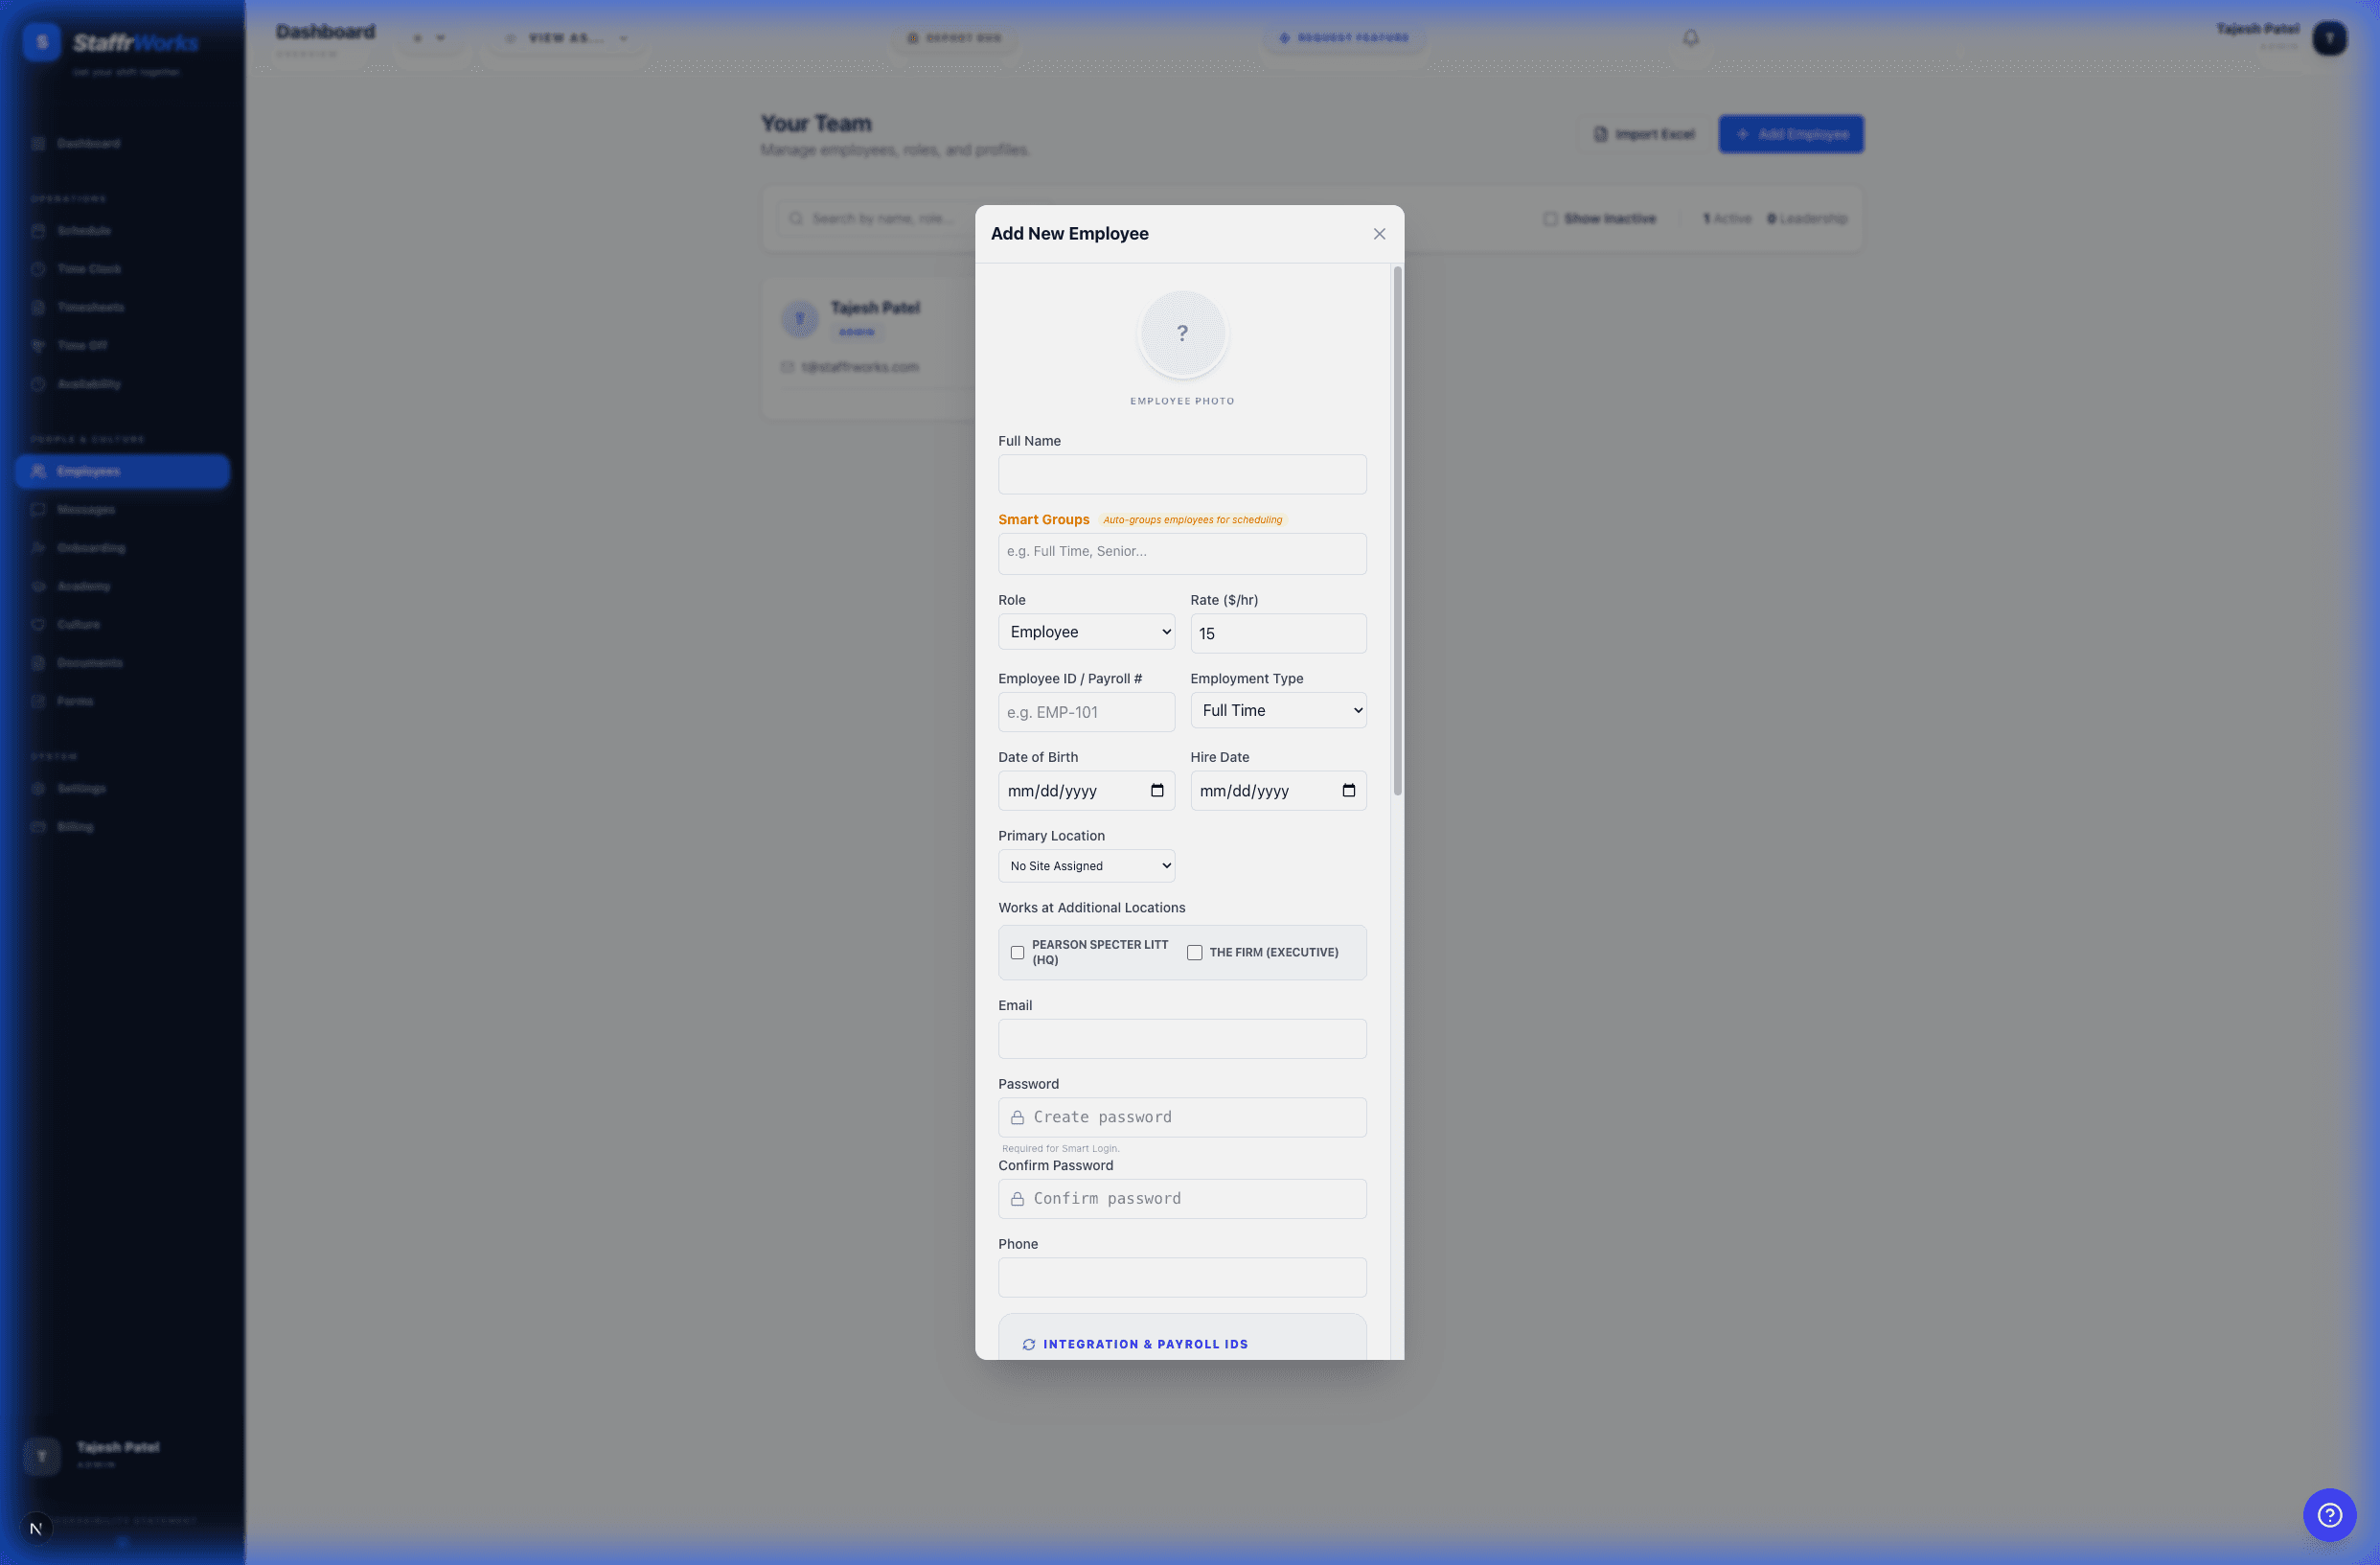
- Role: Admin, Manager, or Employee.
- Hourly Rate: Used for labor cost estimations.
- Onboarding: Check "Require Video" to force them to complete training before their first shift.